Permissions & Setup Wizard
VocalFlow needs a small set of macOS permissions to do its job. This page explains what each permission is for, and walks through the setup wizard that appears on first launch.
The three permissions
Section titled “The three permissions”| Permission | Required? | What VocalFlow uses it for |
|---|---|---|
| Microphone | Required | Capturing your voice while you dictate. Without it, nothing can be recorded. |
| Accessibility | Required | Listening for global hotkeys in any app, and injecting the finished text at your cursor (simulated ⌘V). Without it, hotkeys do not respond and text cannot be inserted. |
| Screen Recording | Optional | The screenshot-OCR context feature: at the instant you press the hotkey, VocalFlow captures the front window and reads on-screen text to improve recognition of the terms you are talking about. If not granted, this feature is silently skipped — everything else works normally. See Context-Aware Transcription. |
macOS asks for each permission with a system dialog the first time it is needed, and you can review them anytime in System Settings → Privacy & Security.
The five-step setup wizard
Section titled “The five-step setup wizard”On first launch, VocalFlow shows a centered setup wizard:
-
Welcome — a short introduction to how VocalFlow works.
-
Let VocalFlow hear you — grant the two essential permissions: Microphone and Accessibility. The wizard shows your current microphone device name and a live input level bar, so you can confirm audio is actually arriving.
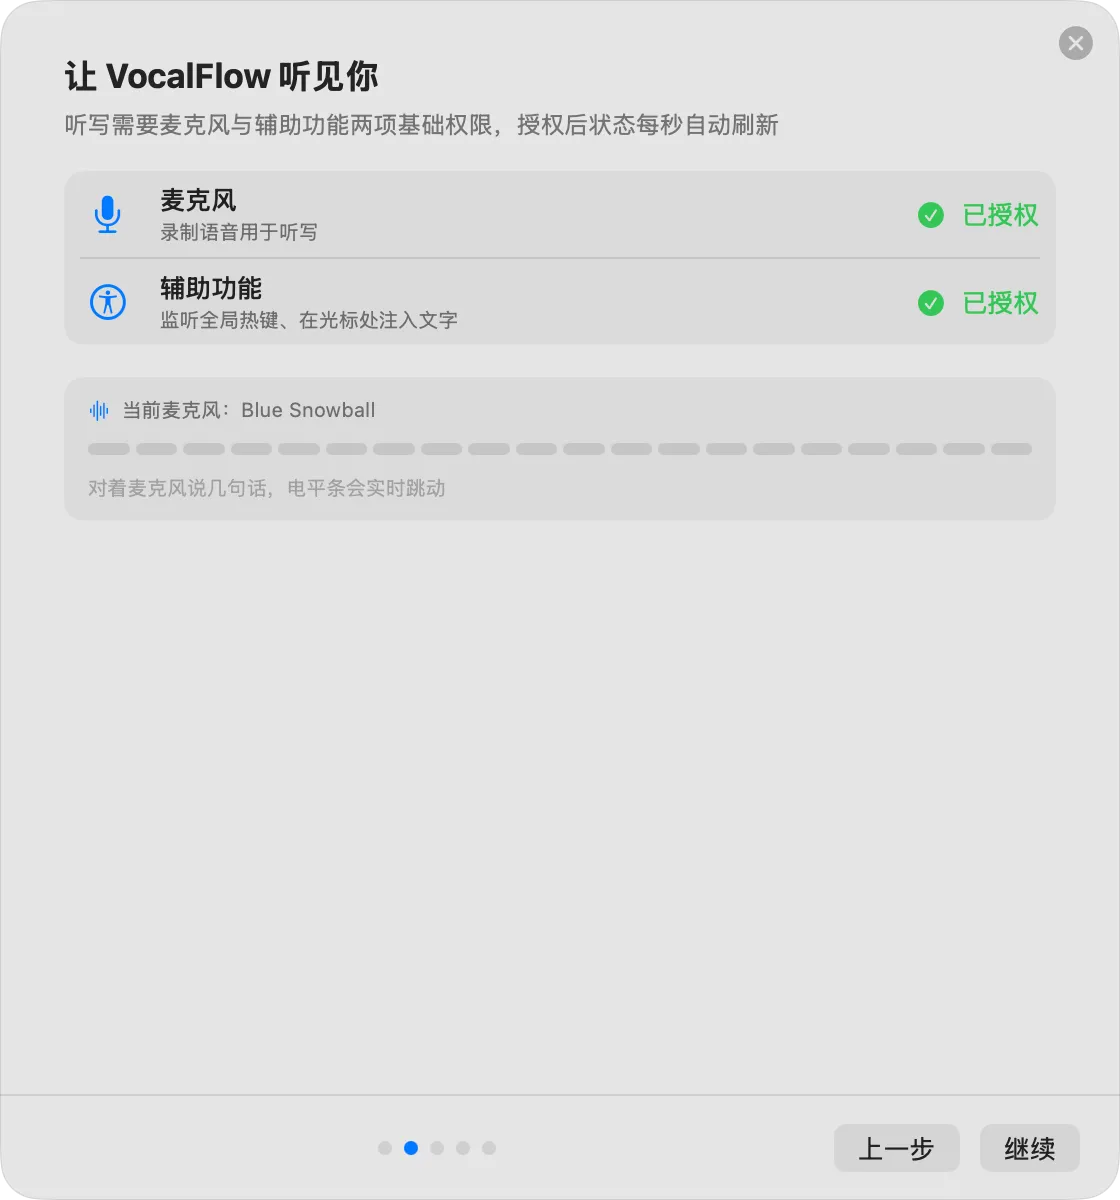 Step 2, “Let VocalFlow hear you”: both required permissions granted (已授权), with the current microphone and its live level bar below.
 -
Let transcription understand your screen — grant Screen Recording (optional) and learn about the context features that are on by default. This step never blocks you from continuing.
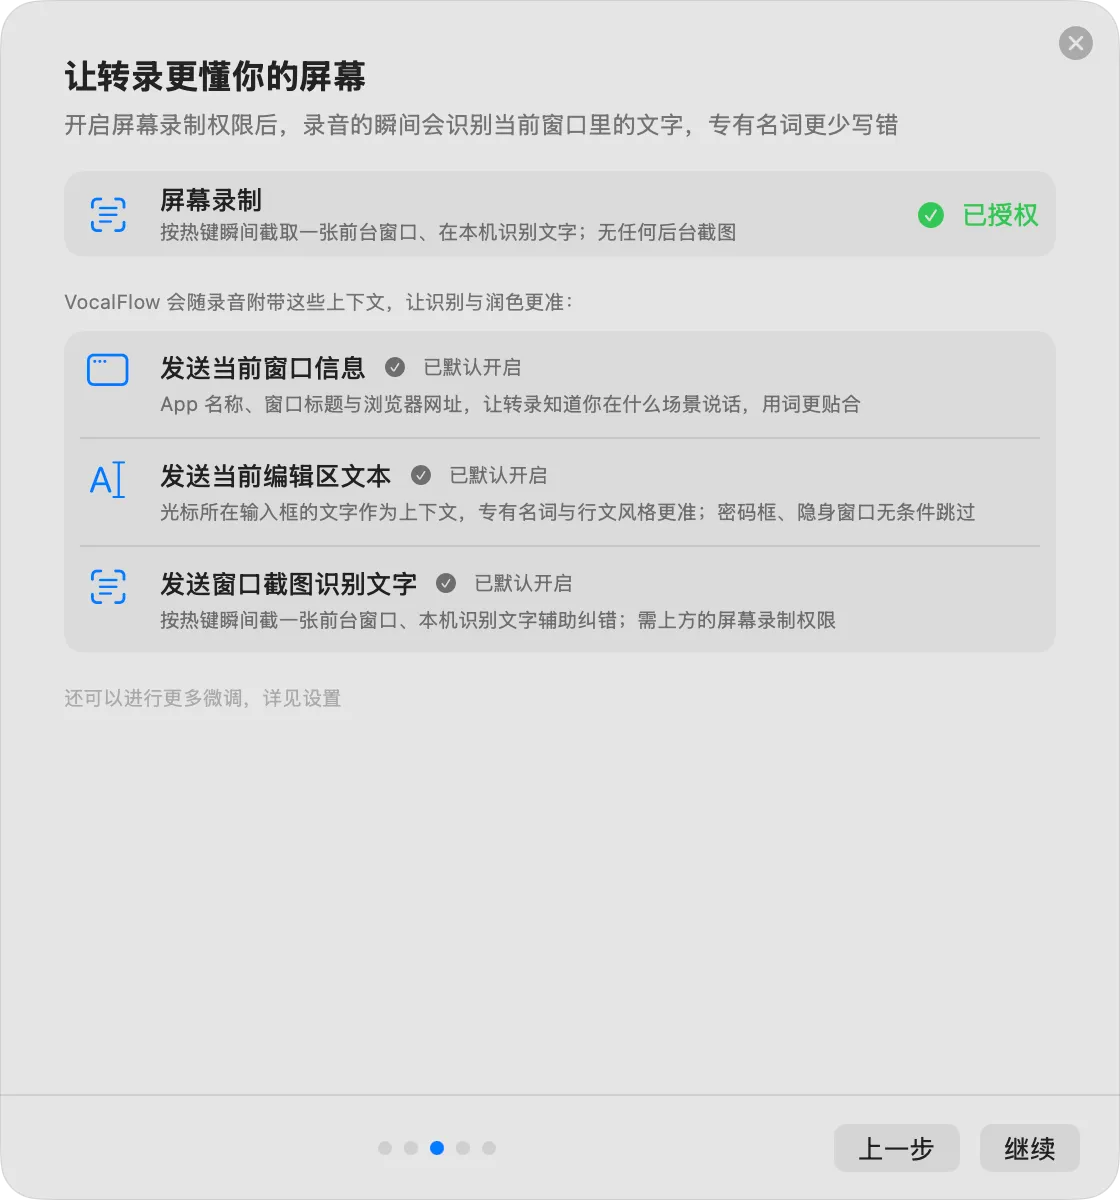 Step 3, “Let transcription understand your screen”: the optional Screen Recording permission, and the three context features marked “on by default” (已默认开启).
 -
Login & node — sign in through your browser and let the app pick the best transcription node. You can skip this and log in later.
-
Try it out — a dictation test inside the wizard window. Speak a sentence, watch it get refined and injected, and you are done.
If you upgrade from an older version and all permissions are already granted, the wizard considers itself complete and does not appear.
To re-run the wizard later: open Settings and use the option at the bottom of the settings page.
Checking permission status later
Section titled “Checking permission status later”-
The Permissions section at the bottom of the settings page shows the live status of all three permissions, with one-click shortcuts into System Settings.
 The Permissions section in Settings: live status for all three permissions (已授权 = granted) and the button to re-run the setup wizard.
 -
If a required permission is missing or revoked, the menu bar icon enters a warning state and the first menu item becomes “Insufficient permissions — open Settings…”. VocalFlow never fails silently.